


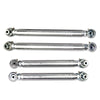
JK ALUMINUM Mid Arm Kit - Lowers Only
SKU : LK7217
Regular price $1,429.99
JK ALUMINUM Mid Arm Kit - Lowers Only

- Lightweight links offer better fuel mileage and less wear and tear.
- Easy installation and less maintenance with lightweight aluminum construction.
- Rust-resistant aluminum means no need for frequent repainting.
- Natural shininess adds curb appeal to your vehicle.
- Significant weight savings compared to steel links, improving overall performance.
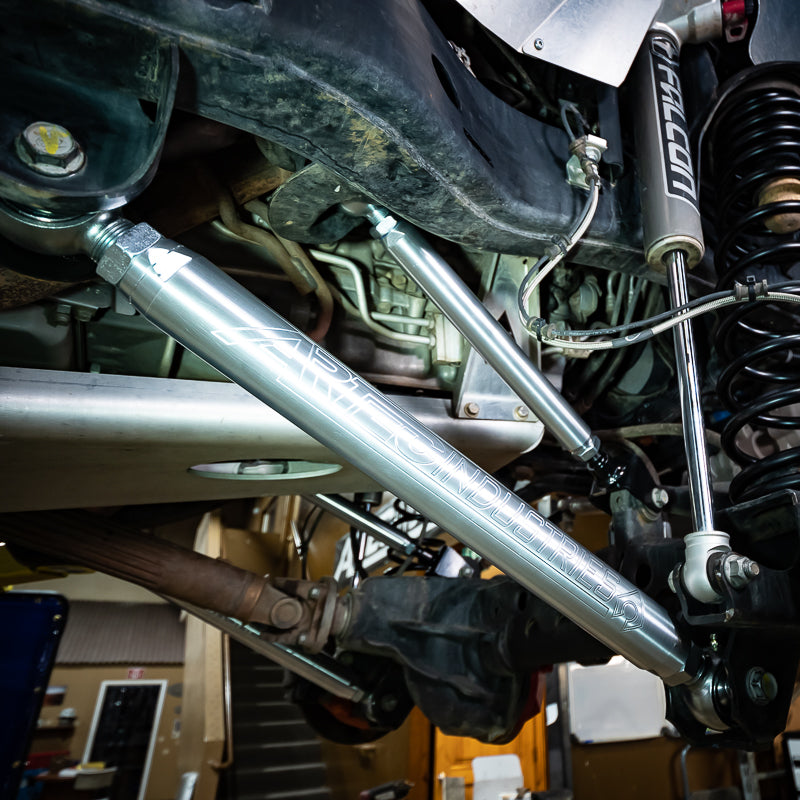
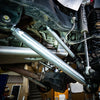
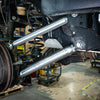
We've extensively tested aerospace grade 7075 aluminum links for heavy-duty use in extreme rock crawling and daily driving. Our Link Kit includes Krawler Joints with matching jam nuts and wrench flats for easy tightening, and can directly replace steel kit links. It also features threaded ends for fine tuning. To complete the full conversion, add HD Crossmember with Link Mounts, Frame Mount Bracket, and Adjustable Truss Upper Link Mount, which are sold separately and often included in other kits. Our Link Kit is designed for abuse and longevity, saving weight and improving performance.
Reviews
Install Instructions
Warning: This Part Requires General Mechanical Abilities If you are not confident in your abilities
Please have this product installed at a Local Off-Road Shop .
Tools Required:
Safety Glasses, Gloves, Wrench set, Socket Set, Torque
wrench, Jack, Jack stands(Tall and
short) , Wheel chock,
Step 1:
Take an inventory of your parts, If you are missing any parts Please contact
Artec Industries Immediately @ (855) 278-3299
M-F 8:30am-5pm MST if it is after those hours please send an email to Sales@artecindustries.com and provide a list of parts you received
along with copy of the packing slip
Step 2:
Place Wheel chocks at the rear wheels on the vehicle. With the vehicle on the ground break the lug nuts
on the wheels free (Do not fully loosen or remove the
lug nuts.) Using a jack raise up
the front of the vehicle and place tall jack stands under the frame behind the
lower control arm mounts and a shorter set under the axle.
Step 3:
Remove the wheels from the front of the vehicle and remove the
control arms. (We
suggest only removing and replacing 1 control arm at a time. ) With a control arm removed measure the
length of the control arm from center of bushing hole to center of bushing
hole record this measurement and adjust
the Artec arm to that measurement. install the arm into the vehicle and torque
to factory specs. Repeat this process on the other arms on the front axle.
Step 4:
Re install the wheels and tighten the lug nuts. (Do not fully torque the Lug nuts ) Raise the vehicle up off of the jack stands
and remove them from under the vehicle.
Once the vehicle is on the ground
move the wheel chocks to the front wheels with the vehicle on the ground break the lug nuts
on the wheels free. ( Again Do not fully loosen or
remove them.) Using a jack raise
up the rear of the vehicle and place tall jack stands under the frame in front
of the lower control arm mounts. and a shorter set under the axle .
Step 5:
Remove the wheels from the rear of the vehicle and remove the control
arms. (We
suggest only removing and replacing 1 control arm at a time. ) With a control arm removed measure
the length of the control arm from center of bushing hole to center of bushing
hole record this measurement and adjust
the Artec arm to that measurement and install the arm into the vehicle and
torque to factory specs. Repeat this
process on the other arms on the rear axle.
Step 6:
Once all of the rear control arms are in the vehicle, Install
the wheels and tighten the lug nuts. ( Do not fully
torque them quite yet !) Raise
the vehicle up off of the jack stands and remove them from under the
vehicle. Once the vehicle is on the the
ground under its own weight torque the
lug nuts to spec.
Step 7:
Take the vehicle to an alignment shop to verify all of the
arms are in the factory spec range and have them adjusted if needed . If your old arms were bent or worn out this is
a critical step to ensure proper drivability and tire wear .
After 50 miles
check all bolts for tightness and re torque if needed.

Community Discussion