


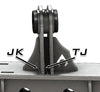
Weld on UCA Brackets for Low Pro Front Truss
9,000 Entries
100X
SKU : BR1125
Regular price
$159.99
$143.99
Artec Industries offers the ultimate DIY bracket for offroaders and adventure enthusiasts. With a 2.625" mounting width, 9/16" hole size, and adjus... Read More
Artec Industries offers the ultimate DIY bracket for offroaders and adventure enthusiasts. With a 2.625" mounting width, 9/16" hole size, and adjustable hole locations, this .25" thick steel bracket easily assembles with a jig for suspension fine-tuning. Available for 3.0 to 3.5" axle tube diameters. Read Less
Share :
Ask A QuestionWeld on UCA Brackets for Low Pro Front Truss

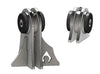
- 2.625” mounting width with a 9/16” bolt hole
- Choose from Daystar Bushings or Johnny Joints
- Made from 1/4” thick steel
- CNC laser cut and CNC bent for precise fit
- Engineered using 3D scan files
- Made in the USA
- *Requires welding
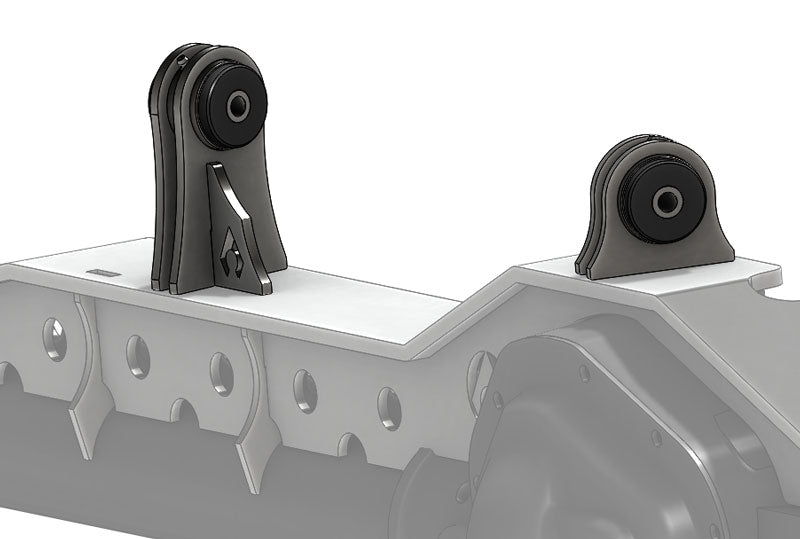
Get the ultimate DIY fabrication experience with Artec Industries. Our bracket is perfect for offroaders and adventure enthusiasts, made to work with large joints with a 2.625” mounting width. It includes a 9/16” hole size that can be drilled for larger sizes. The bracket holes are set a 7, 8, and 9 inches from the axle centerline, providing fine-tuning capabilities for your suspension. Made from .25” thick steel, the bracket comes in four unwelded pieces that easily assemble with a jig. Choose between 3.0 and 3.5” axle tube diameters, and easily modify for different sizes.
Notes : Due to the size difference from the factory axle to the 60, these UCA are higher than factory UCA mounts. The center hole of these brackets is 8.5" from axle center-line. This may not work with all lift kits especially radius arm style lift kits such as Rubicon Express.
Reviews
Install Instructions
Warning: This Part Requires General Mechanical Abilities If you are not confident in your abilities Please have this product installed at a Local Off-Road Shop .
Step 1:
Take an inventory of your parts, If you are missing any parts Please contact Artec Industries Immediately @ (855) 278-3299 M-F 8:30am-5pm MST if it is after those hours please email us pictures of what you received , along with product lables on the box and packing slip at Sales@artecindustries.com
Step 2:
Prep Truss top for welding by removing any paint, dirt, or machining oil.
Step 3:
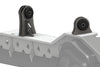
Installation of the UCA brackets For Bushings and Johnny Joints, the parts will jig into the predetermined slots on the truss top. for placement. (some mounts may not have any slots so you will have to determine your location for the mount.
Step 4:
Center the tube sleeves between the two tabs for the Bushings or Johnny Joints. Once the tube is centered tack weld all of the peices into place then fully weld the brackets and tube to the mount . If the tube is not welded fully it can fail
Step 5:
Prime and paint the parts
Step 6:
Assemble the Bushings (or) Johnny Joint into the bracket.

Community Discussion