

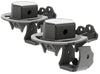
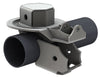
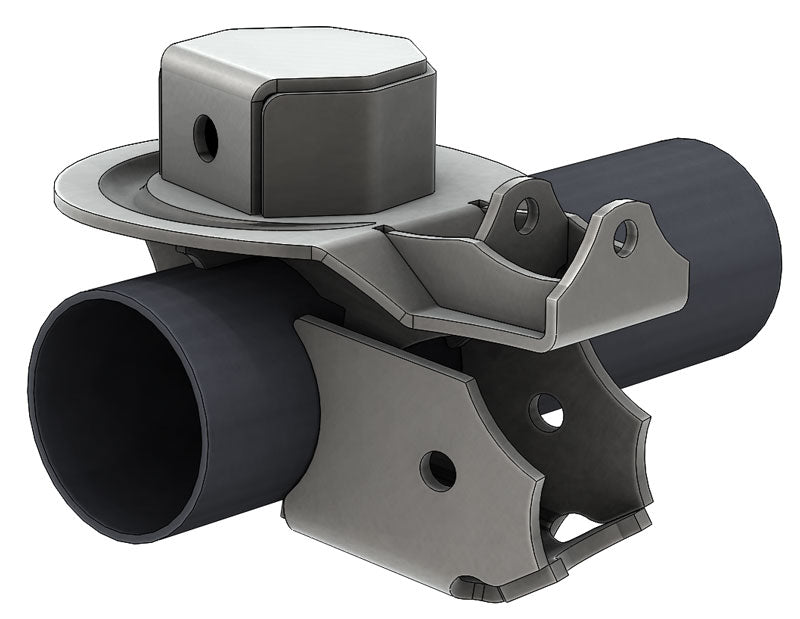
Ultimate Coil Bracket - Coil - Shock - Link
SKU : BR1102
Regular price
$154.99
$131.74
Ultimate Coil Bracket - Coil - Shock - Link

- Swap in a different Axle
- Matches the width of the factory bracket
- 3/16" steel brackets are 50% thicker than factory brackets
- CNC laser cut and CNC bent for precise fit
- Engineered using 3D scan files
- Tabbed and slotted brackets for easy installation
- Stamped pattern keeps your coil straight
- Adjustable shock mounts
- Made in the USA
Coil Spring Axle Bracket – Front & Shock Axle Bracket Elevate your off-roading experience with Artec Industries’ Front Axle Coil Bracket Replacement. Replace your coil buckets and shock mounts with our heavy-duty bracket for unmatched durability. Our 3/16” thick bracket includes a stamped coil correction, ensuring top performance on any terrain. Don’t compromise on equipment quality. Choose Artec Industries for the ultimate off-roading experience. Made in the USA. Optional Upgrade: Artec Industries’ Lower Control Arm Brackets offer three options – 0 degree, 10 degree, 25 degree angles – for optimal installation flexibility.
Reviews
Install Instructions
Warning: This Part Requires General Mechanical Abilities If you are not confident in your abilities
Please have this product installed at a Local Off-Road Shop .
Step 1:
Take an inventory of your parts, If you are
missing any parts Please contact Artec Industries Immediately @ (855)
278-3299 M-F 8:30am-5pm MST if it is
after those hours please email us pictures of what you received , along with
product labels on the box and packing slip at Sales@artecindustries.com
Step 2:
Lay out all of the parts You
will take Part 9 and flip it over so the part number is facing down. Insert part number 14 in the slot in the corresponding slot and slip part number
13 in the slot on the other slot the tabs and key ways are specific so it will
only fit one way. Now insert part 15
into the groove on the part 13/14 brackets
there will be a small rounded relief that will sit on the coil
indentation . Tack weld the brackets
into place .
Step 3 :
Continue Step 2 Process on the brackets for the opposite side.
Step 4:
Flip over the coil mounts. Using
your shock run a bolt through the coil bracket and the # 12 ( or #4) bracket
depending on what coil bucket you are working on to set the shock mounting
width . Tack weld the tab for the shock
mount into place and remove the shock.
Step 5:
Place pieces 10 and 11 on bracket 9 . Place your coil spring on piece 9
in the stamped coil relief and use the spring to center pieces 10 and 11. Remove
the spring and tack weld all pieces together.
Repeat this process for the other
side.
Step 6:
Fully weld the brackets together .
You should have 2 tabs left ( Part # 16 and 8) save those for later .
Step 7:
Weld the coil buckets onto your axle in the desired position for your
build . Now take the number 16
bracket and places it at the front of
the coil brackets in between the 13 and 14 the 16 bracket should be contacting
the axle tube and weld it into place you
will repeat this process for the other side also. After they are welded prime and paint the
parts and your job is complete .

Community Discussion