
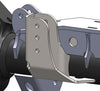
Raised Trackbar Bracket for 3.5" Diameter Front Axle
SKU : BR1139
Regular price
$65.99
$56.09
Raised Trackbar Bracket for 3.5" Diameter Front Axle

- 1/4" steel
- CNC laser cut and CNC bent for precise fit
- Engineered using 3D scan files
- Replaces factory bracket
- Engineered for lifts 3” or higher
- Raises roll center for increased stability
- Improved ground clearance
- Made in the USA
Raised Trackbar Bracket for 3.5" Front Axle This heavy bracket is designed to give you a universal trackbar mounting option for Dana 60 swap kits, especially those using our Low Profile Dana 60 Front Trusses. This bracket gives you several options to find the perfect geometry. The 1/4" thick CNC precision cut and formed components of this setup ensure a quality, heavy duty solution. NOTE: This bracket offers several raised trackbar holes. Every lift is different and some trial and error may be necessary to find the ideal ride. This bracket is NOT bolt on and requires welding. This bracket will also require modifying or fabricating a new trackbar itself since it will be slightly shorter. This bracket attaches to the axle next to the factory coil perch. Joint width is 1.65", so use our Narrow Misalignment Spacers with 7/8" Heims if you are building your own Trackbar. NOTE: This kit requires general welding and fabrication skills. Welding should only be done by a competent welder. Artec Industries implies no guarantees or warranties and is not liable for improper installation. *Some grinding and fitment may be required when installing this kit. Every axle varies slightly and some fabrication may be required. *Requires a custom Trackbar
Notes : This kit requires general welding and fabrication skills. Welding should only be done by a competent welder. Artec Industries implies no guarantees or warranties and is not liable for improper installation.
Reviews
Install Instructions
This part requires welding and fabrication
skills if you are not confident in your abilities please take to an Off-road
shop to install this part.
Warning:
This part does not work with an off the shelf Track bar A custom Track bar will need to be fabricated
.
Tools Required :
Safety Glasses, Gloves,
Socket Set, Wrenches, Jack, Jack stand, wheel chocks, Cutting Tool of
your choice (Sawzall, Grinder, plasma, cutting torch) Welder.
Step 1:
Inventory that you have all of the parts for your order If you are
missing parts or have incorrect parts contact Artec Industries Immediately @
(855)-278-3299 M-F from 8am-5pm MST If it is after those hours please Email
Sales@Artecindustries.com
Step 2:
Place wheel chocks at the rear of the vehicle , Use a jack to lift the front of the vehicle
and set the front axle securely onto the
Jack stands.
Step 3:
Remove your current track bar from the vehicle.
Step 4:
Use a wire wheel or flap disk to clean and prep the axle
tubes for welding .
Step 5:
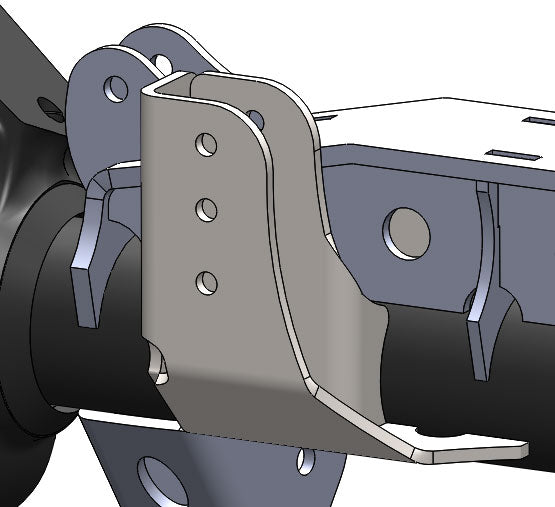
Insert Br1139-2 tab into keyway cut out on part
Br1139-1. Once the tab is inserted into
the keyway insert your track bar joint into the bracket to adjust mounting
width and tack weld the inner plate into place .
Step 6:
Remove your track bar from the bracket and fully weld the
inner part of the bracket into position.
Step 7:
Set track bar mount into position on the axle , Weld track
bar bracket into position.
Step 8:
Prime and Paint the bracket we get the best results with
rustolem paint .
Step 9:
Measure the distance from Frame side track bar mount to
desired mounting hole bracket and fabricate a new track bar, Once the track bar is fabricated install it
into the vehicle. Lower the vehicle off of the Jack stands and take to an
alignment shop to have an alignment is performed to ensure the geometry is
correct.
Check bolts and nuts for tightness after
driving about 50 miles if they are loose tighten the bolts.

Community Discussion