


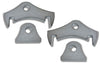
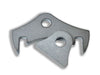
Lower Link Shock Tabs (4 pieces)
360 Entries
15X
SKU : TB1085
Regular price
$27.49
$23.37
Artec Industries CNC cut mild steel tabs are an ideal truss system addition with a 1/2" hole and 1.25" apart. Four pieces included for two shocks. Read More
Artec Industries CNC cut mild steel tabs are an ideal truss system addition with a 1/2" hole and 1.25" apart. Four pieces included for two shocks. Read Less
Share :
Ask A QuestionLower Link Shock Tabs (4 pieces)

- CNC cut 1/4" mild steel for reliability and easy installation
- Compatible with most shocks for easy integration
- Precise mounting at 1.25" spacing
- Kit includes 4 pieces for two shocks
- Artec Industries' commitment to quality and performance
- Upgrade your suspension system with ease
- Experience superior handling both on and off the road.
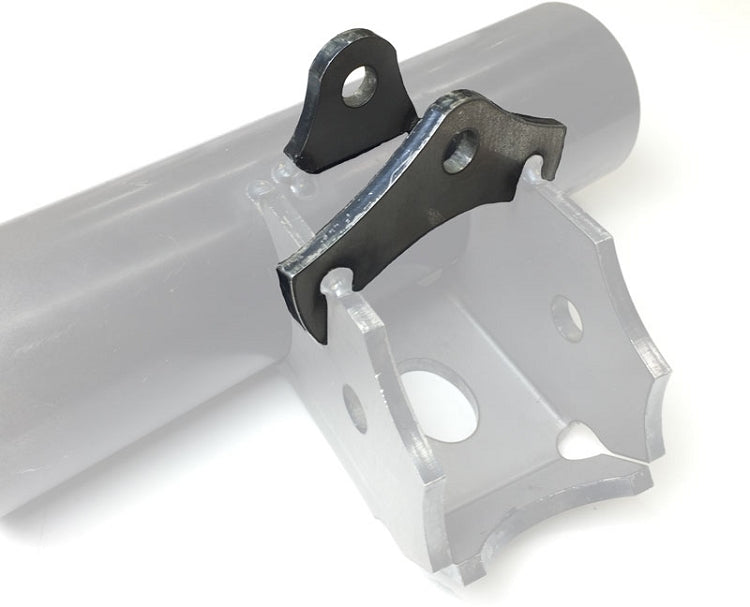
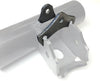
Artec Industries' CNC cut 1/4" thick mild steel tabs are an ideal addition to your truss system. Designed with a 1/2" hole common to most shocks and intended to be mounted 1.25" apart, these tabs are reliable and easy to install. With four pieces included for use with two shocks, upgrading your suspension system has never been easier. Trust in Artec Industries' commitment to quality and performance, and experience superior handling both on and off the road.
Notes : This part requires general welding and fabrication skills. Welding should only be done by a competent welder. Artec Industries implies no guarantees or warranties and is not liable for improper installation.
Reviews
Install Instructions
Step 1 : Inspect and open package, Verify all contents are accounted for.
Step 2: Remove all paint, powder coat, oils from all surfaces where welding will be done so that material is left raw and ready to weld.
Step 3: Cover up any vital componets thay could be damaged from weld spatter & heat example : shocks, brake lines, hoses, wiring harnesses etc.
Step 4: Mock up links and shocks into position to ensure proper fitment some grinding may be required
Step 5: Tack weld into position
Step 6: Fully cycle suspension to ensure proper placement .
Step 7: Remove Shock and Links
Step 8: Finish welding into place
Step 9: Paint or powder coat to prevent rust this is a raw steel item .
Step 10: Take pictures, Show off how awesome your rig is now to your buddies !

Community Discussion